Key takeaways
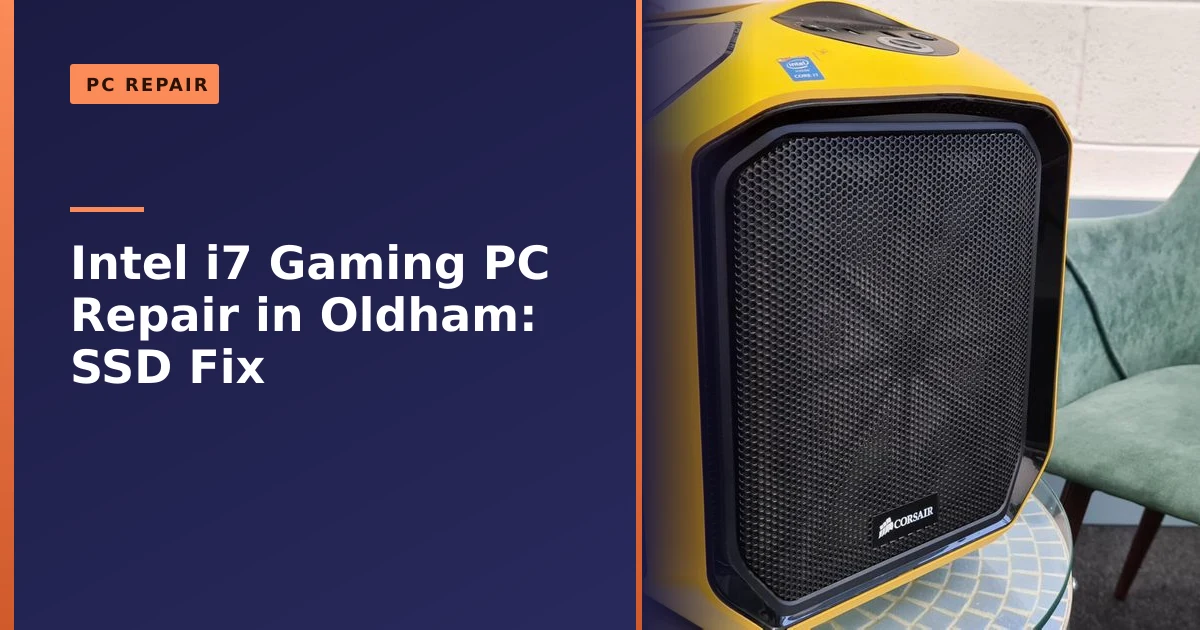
- This custom PC from Salford (MSI X470, 16GB RAM, dedicated graphics) arrived with a frustrating “no signal” fault.
- We diagnosed it, fitted a new WD Black SSD to replace the failed drive, tested every component and installed Windows 11.
- A “no signal” message has several possible causes, from cables and graphics to RAM and the drive, so methodical diagnosis matters.
- A failed drive does not mean a failed PC; a custom build is very much worth repairing and upgrading.
- You can safely try the simple checks at home, and we explain exactly what we do when those do not solve it.
Why does a PC show “no signal” on the monitor? It can be several things, and on this custom-built machine from Salford it took methodical diagnosis to track down. The PC, a tidy build with an MSI X470 Plus Max motherboard, 16GB of RAM and a dedicated graphics card, came in dead to the monitor, and we got it running beautifully again with a new SSD and a fresh Windows 11 install. Here is how, and here is everything you can sensibly check yourself before a fault like this needs a workshop.
What came in: a powerful PC with no signal
Custom-built PCs are great because they are powerful and tailored to their owner, but they can still develop faults. This one had been running well for years before it suddenly stopped sending any picture to the monitor, leaving its owner with the dreaded “no signal” message and understandable frustration. On top of that, the machine's existing SSD had failed, so the client also asked us to fit a new one.
It is worth pausing on what a machine like this actually is, because it shapes how you repair it. The MSI X470 Plus Max is an AM4 motherboard built for AMD Ryzen processors, paired here with 16GB of RAM and a separate graphics card rather than relying on integrated graphics. That matters for diagnosis: a system with a dedicated card sends its picture out of the card, not the motherboard, so the very first thing to confirm is which port the monitor is actually plugged into. None of that was the cause here, but it is exactly the sort of detail that turns a long head-scratch into a quick fix when you work through things in order.
How we fixed it
We worked through the machine methodically, testing each component to find what was stopping it from displaying. With the diagnosis done, we fitted a reliable new WD Black SSD to replace the drive that had failed, carefully integrating it for fast, responsive performance. We then tested every component again to be sure the whole system was rock solid, and everything passed. Finally, because the old drive (and its operating system) was gone, we installed a clean copy of Windows 11 so the PC could make the most of its capable hardware. It went back to its owner running like new.
That short summary hides a fair bit of careful work, so the rest of this guide opens it up. We will explain what “no signal” really means, the checks you can safely do at home, the internal causes a technician rules out one by one, the warning signs of a failing SSD, why we chose the drive we did, what a clean Windows 11 install actually involves, and how to keep a custom PC healthy for years. None of it is magic. It is just method.
What causes a “no signal” error?
“No signal” simply means the monitor is not receiving a picture, and there are several possible reasons, which is why a methodical approach is essential rather than guesswork. Common causes include a loose or faulty monitor cable, a problem with the graphics card or its seating, a RAM module that has worked loose or failed, or a fault on the storage drive or motherboard. The art is in testing each possibility in turn to isolate the real culprit, exactly what we did here.
If your PC powers on, fans spinning, but shows nothing on screen, it is worth checking the simple things first: that the monitor is on the right input and the cable is firmly connected at both ends. If that does not help, the cause is internal and worth having diagnosed properly. Sudden faults like this can also overlap with the symptoms in our guide on random crashes and restarts.
It helps to split the problem into two questions. First, is the picture failing to leave the PC at all, or is the monitor failing to show a picture that is being sent? Second, is the PC even getting far enough to produce a picture in the first place? A machine can power on (fans and lights running) yet never reach the point where it would output video, because it has stalled at an earlier stage such as memory training or finding a boot device. Keeping those two questions separate is the single biggest thing that stops a no-signal hunt going round in circles.
No-signal checks you can safely try at home
Before anything comes into a workshop, there is a sensible, no-risk sequence you can run through yourself. None of this involves opening the case or touching internal parts, and it solves a surprising share of cases. Work down the list in order and stop as soon as the picture returns.
- Check the monitor first. Confirm the monitor itself is powered on and not in standby. Press its physical buttons and make sure its own menu appears. If even the on-screen menu will not show, the monitor, not the PC, may be the fault.
- Select the correct input. Use the monitor's source or input button to cycle through HDMI 1, HDMI 2, DisplayPort and so on. A monitor set to the wrong input will say “no signal” even when the PC is working perfectly.
- Reseat both ends of the cable. Unplug the video cable at the monitor and at the PC, then push it firmly back in. A cable that looks connected can sit slightly proud of the socket.
- Use the graphics card ports, not the motherboard. On a PC with a dedicated graphics card, the monitor must plug into the card (lower down the back of the case), not the motherboard's own video sockets. Plugging into the motherboard is one of the most common reasons a working PC shows no picture.
- Swap the cable and try another port. Try a different HDMI or DisplayPort cable, and a different output on the card. Cables fail more often than people expect, and a spare from a TV or another monitor is a quick test.
- Test the monitor on something else. Plug the monitor into a laptop, console or another computer. If it works there, the monitor is fine and the fault is in the PC.
- Listen and look for beeps and lights. Many motherboards beep or flash an error light or code when memory or graphics fail. Note any pattern, as it points straight at the culprit.
- Power-cycle fully. Shut down, switch off at the wall, hold the power button for ten seconds to drain residual charge, then power back up. This clears a number of temporary states.
If you have gone through all of that and the screen is still blank, the cause is almost certainly internal, and that is the point where it pays to stop guessing and have it diagnosed properly.
The internal causes, in the order we rule them out
Once the easy external checks are exhausted, a technician opens the case and works from the most likely and least invasive causes to the rarest. Doing it in this order avoids replacing expensive parts on a hunch. Here is the sequence we follow on a desktop like this Salford build.
- Graphics card seating. A card can creep out of its PCIe slot over time, or never have been fully clipped in. We remove it, clean the contacts and reseat it firmly until the slot latch clicks. If the board has integrated graphics, we can also test with the card removed to see whether the motherboard outputs a picture on its own.
- RAM. Memory faults are a classic no-signal cause, because a PC that cannot pass its memory check will never reach the point of sending video. We reseat each stick, then test with one stick at a time in the slot the manufacturer recommends. If one stick is dead, the machine often springs back to life on the other.
- CMOS and BIOS settings. Corrupted firmware settings can leave a board unable to start the display. Clearing the CMOS (using the jumper or by removing the small coin-cell battery for a few minutes) resets the BIOS to defaults. It is a standard step, though it is worth knowing it can briefly cause its own no-signal moment while the board relearns its settings on the next boot.
- The boot drive. A failed or failing drive can stop the system reaching the operating system. Crucially, on many systems you should still see the manufacturer logo or BIOS screen even with no working drive, so a totally dead screen points more at graphics, RAM or the board, while a screen that appears then hangs points at the drive or the OS. On this machine the SSD had indeed failed, which we confirmed and dealt with.
- Power supply. An ageing or marginal power supply can deliver just enough to spin fans but not enough for the graphics card to drive a display. We check voltages and, where there is doubt, test with a known-good unit.
- Motherboard. Last on the list because it is the hardest to swap, the board itself can fail (often around the VRMs or the PCIe slot). We only conclude this once everything else is ruled out.
Notice that the drive sits in the middle of that list, not at the top. That is why proper diagnosis matters: a no-signal symptom and a failed SSD can look like one big problem when they are really two separate things that happened to surface together, which is exactly what we found here.
What a failing SSD looks like, and why it can break boot
Solid-state drives are far more reliable than the old spinning hard drives they replaced, but they are not immortal, and they tend to give warning signs before they go. Spotting these early is the difference between a calm, planned swap and a panic over lost data. According to data-recovery specialists who handle failed drives every day, the common symptoms include the following.
- It suddenly feels slow. A boot that used to take seconds now takes minutes, files take an age to open, or saving and copying stalls. A sharp drop in read and write speed is one of the earliest clues.
- Files corrupt or vanish. Documents fail to save, throw read or write errors, or briefly disappear and reappear after a restart.
- The drive goes read-only. A failing SSD sometimes flips into a read-only state to protect what is left, so you can open files but not save changes.
- Crashes, freezes and blue screens. Frequent freezing during file access, or a blue screen on boot, can be the drive failing to be read or written.
- It disappears from the system. The BIOS or UEFI stops “seeing” the drive, or it vanishes from Disk Management, and the PC can no longer find anything to boot from.
That last symptom is the one that ties back to a no-boot or display-stall situation: if the drive holding Windows drops out, the PC has nothing to load. The honest, important point is that data on a failed drive is not always lost, but recovery is far easier and cheaper when you have a backup already. This is why we keep banging the drum about backing up your data, and why a proper data recovery service exists for the times you did not. If a drive is showing any of the signs above, copy your important files off it today, not next week.
Choosing the replacement drive: why a WD Black
When a drive fails, the replacement is a chance to make the whole machine quicker, not just restore it. We fitted a WD Black SSD because it is a dependable, high-performance drive with a strong reputation and a long warranty. Western Digital's WD_BLACK SN850X NVMe range, for example, is rated by the manufacturer for sequential reads of up to 7,300 MB/s, comes with a five-year limited warranty and a generous endurance rating, which is the sort of headroom a capable custom PC deserves. You can read the official figures on Western Digital's own WD_BLACK SN850X product page.
It helps to understand why the type of drive matters so much. The jump from a hard drive to a solid-state drive is the single biggest speed upgrade most PCs can get, and a modern NVMe drive is faster again than the older SATA SSD format. Here is the rough picture.
| Drive type | Typical read speed | Best for | Notes |
|---|---|---|---|
| Mechanical hard drive (HDD) | Around 80 to 160 MB/s | Bulk storage, backups | Cheapest per terabyte, but slow and has moving parts that wear |
| SATA SSD (2.5 inch) | Around 500 to 550 MB/s | Reviving older PCs and laptops | Huge leap over a hard drive, fits almost any machine |
| NVMe SSD (M.2) | Up to roughly 7,000 MB/s on PCIe Gen4 | Modern custom builds and gaming PCs | Plugs straight onto the motherboard, fastest option |
The X470 platform in this build supports fast M.2 NVMe storage, so a good NVMe drive was the natural choice. It is the same reasoning we lay out in our guide on why you need to upgrade to an SSD: for most people, swapping in a good SSD does more for everyday responsiveness than almost any other single change. If the rest of the machine is healthy, it is money very well spent.
Installing Windows 11 cleanly: what it actually involves
Because the failed drive took the operating system with it, the new SSD needed a fresh copy of Windows. A clean install is the best possible start for a new drive, with no clutter carried over, and it is worth understanding what the process involves so you know what you are paying for. At a high level it goes like this.
- Check the hardware meets the requirements. Windows 11 needs a compatible 64-bit processor, 4GB of RAM (more in practice), 64GB or more of storage, and importantly UEFI firmware with Secure Boot and TPM 2.0. Microsoft lists these on its official Windows 11 specifications page. This Ryzen-based build comfortably qualifies once the BIOS is set correctly.
- Create the installation media. Using Microsoft's Media Creation Tool, you write the installer to a blank USB stick of at least 8GB. Microsoft's own guide to creating installation media covers this step.
- Boot from the USB and install. The PC starts from the stick, you choose the new SSD as the destination, and Windows lays down a clean copy. On a fast NVMe drive this part is quick.
- Drivers and updates. After the first boot we install the motherboard chipset drivers, the graphics drivers and all current Windows updates. This is the step that turns a bare install into a stable, secure system, and skipping it is why some self-installs feel flaky.
- Activation and final checks. Windows usually reactivates automatically against the digital licence tied to the machine, and we confirm everything (sound, network, ports, the lot) works before it goes back.
If you are weighing up whether to make the move at all, our honest take is in should you upgrade to Windows 11. For a capable machine like this one, with the right hardware already in place, a clean Windows 11 install is the sensible long-term choice.
Why methodical diagnosis beats guesswork
It is tempting, when a PC will not display, to start swapping parts: a new cable, then a new graphics card, then more RAM, hoping something sticks. That approach is slow, expensive and often leaves you none the wiser, because you can fix the symptom while masking a second underlying fault. This Salford machine is a perfect example: the visible problem was “no signal”, but there was also a failed SSD. Guesswork might have replaced a graphics card that was never broken and still left the owner with a drive that could not hold Windows.
Method works because it changes one thing at a time and proves each result. You confirm the monitor and cable, then graphics, then memory, then the drive, and at each step you either clear that component or catch it red-handed. It is the same discipline we apply to every job, whether it is a custom desktop or a tricky crash-and-restart fault. The payoff is a repair you can trust: when we hand the machine back, the whole system has been re-tested, the real cause found, and no money wasted on parts that were never broken.
Custom build versus prebuilt: why custom PCs are so repairable
One of the quiet advantages of this machine is simply that it was custom-built from standard parts. That makes it far easier and cheaper to repair and upgrade than many off-the-shelf systems, and it is a big reason a fault like this is so worth fixing. The trade-offs look like this.
| Aspect | Custom-built PC | Many prebuilt PCs |
|---|---|---|
| Parts | Standard, off-the-shelf components | Sometimes proprietary boards, power supplies or cases |
| Upgrades | Swap the GPU, add RAM or storage easily | Can be limited by non-standard slots or an undersized power supply |
| Repairs | Any failed part can be replaced individually | A non-standard part may force a costlier workaround |
| Long-term value | Designed to be maintained and improved over years | Often cheaper up front, less flexible later |
This is why we so often recommend keeping a good custom build alive rather than replacing it. The same thinking runs through our guide on building a new PC and our wider advice on upgrading a computer: choose standard, quality parts, and the machine stays repairable and upgradeable for a long time. A prebuilt is not a bad choice for everyone, but the repairability of a sensible custom build is a real, lasting benefit.
Repair and upgrade, don't replace
A failed drive or a no-signal fault does not mean a custom PC is finished, far from it. The hardware here was excellent and well worth keeping, so a targeted repair and a new SSD brought it fully back to life for a fraction of the cost of a new machine. Building and maintaining capable PCs is something we love, as our guide on building a new PC reflects.
The economics usually favour repair by a wide margin. Replacing one component, even a quality SSD with a clean Windows install, costs far less than a comparable new system and keeps the parts you already paid good money for. There are times we will tell you a machine is not worth saving, and we always will, but a well-specified custom build with a single failed part is almost never one of them. If you are genuinely torn, our piece on whether to repair or replace lays out how to decide.
Keeping a custom PC healthy for years
Once a machine like this is back to full health, a little routine care keeps it there and helps you spot the next problem early. None of it is hard, and most of it is free. Here is what we suggest.
- Keep it clean. Dust is the enemy of cooling. A light dusting every few weeks and a proper internal clean every three to six months keeps temperatures and fan noise down. Use short bursts of compressed air, held upright, and never let the fans spin freely while you blow them.
- Give it room to breathe. Stand the case off thick carpet and leave a gap behind it for airflow. A PC crammed into a sealed cupboard runs hot and ages faster.
- Watch the temperatures. If fans suddenly get loud or the machine throttles in games, heat is the likely cause. Old, dried thermal paste is a common culprit and a cheap fix.
- Keep storage tidy and updated. A regular disk clean-up and current Windows and driver updates keep things fast and secure.
- Mind the BIOS, but only when needed. A BIOS update can fix real compatibility issues, but it is not a routine chore. Our guide on whether to update the motherboard BIOS explains when it is worth it.
- Back up, always. The cheapest insurance there is. An external drive or cloud copy means a failed SSD is an inconvenience, not a disaster.
- Consider more memory if you multitask hard. If 16GB feels tight with lots of tabs and apps open, more RAM is a cheap, easy lift on a standard build, as we cover in do I need extra memory.
Look after the basics and a quality custom PC will give you many good years. When something does go wrong, you will often catch it early, which makes any repair quicker and cheaper.
How Manchester PC can help
Whether your PC shows no signal, will not boot, or needs a new SSD or upgrade, we can diagnose and fix it. We work on custom builds and branded machines alike, and we always quote up front.
We cover Manchester and the surrounding areas with free local collection and return, fair pricing and honest advice, we will always tell you when a repair is not worth it rather than push one. For a PC repair in Salford or Manchester or any computer repair, get a free, no-obligation quote or call us on 0161 820 1992.